
Ink Gelation and Viscosity: How Printing Viscosity Controls Pigment Transfer
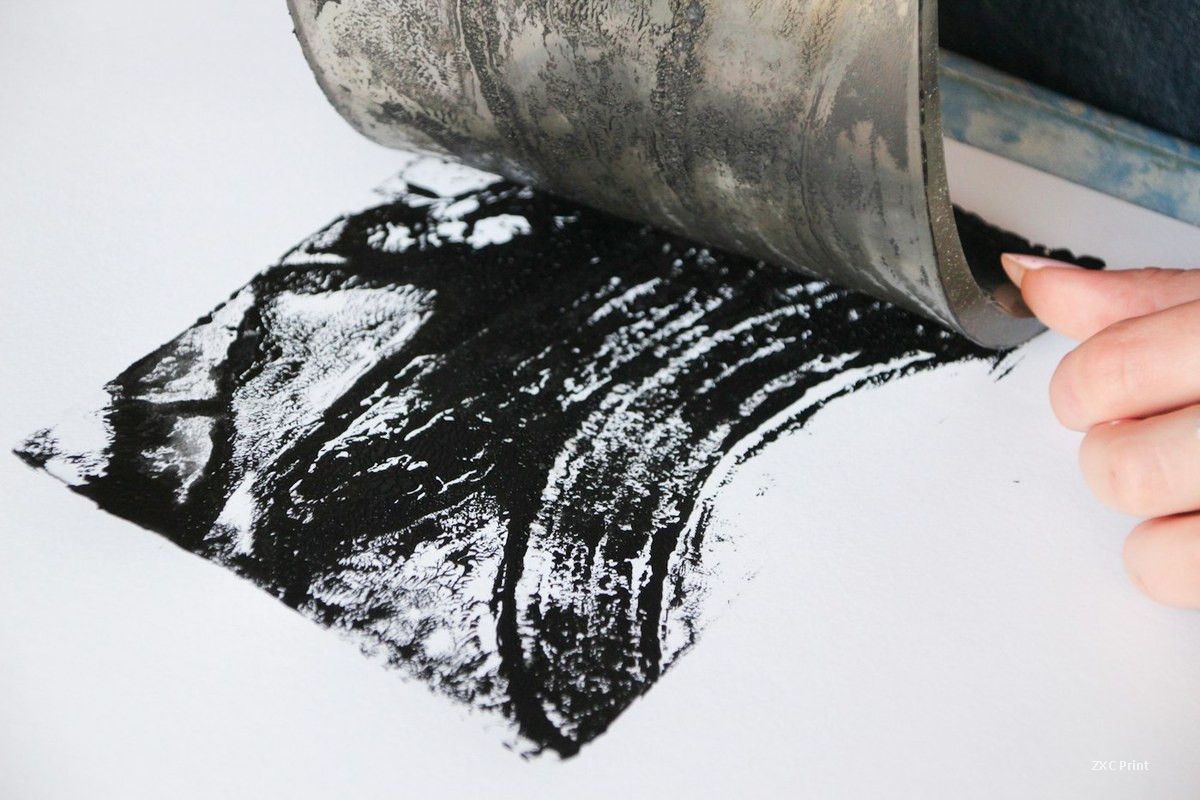
When a press operator restores ink to its original structure, the practical goal is to bring viscosity back to where it started. That single fact explains why gelation and viscosity are treated as two sides of the same problem in the pressroom.
What Ink Viscosity Means
Viscosity is the physical quantity used to describe how resistant to flow an ink is. Several instruments measure it: capillary viscometers, orifice viscometers, rotational viscometers and rotational cone-and-plate viscometers. Viscosity is closely tied to temperature, to the concentration of the particles in the ink and to their particle size. Readings from different instruments carry different precision and different units, so a number from one method cannot be converted directly into another. For day-to-day press control, the Zahn cup remains the practical standard.
What Printing Ink Is Made Of
Printing ink is built from organic solvents, binders, pigments, additives and auxiliary materials. Once the formula and the processing method are fixed, the quality of pigment transfer depends mainly on the printing viscosity. In practice, inks run within a working band of about 11 to 24 seconds on a Zahn cup No. 3. The higher the printing viscosity, the worse the pigment transfer becomes.
Why High Viscosity Leads to Gelation
The solvent dissolves the resin, the additives and the auxiliaries, giving the system its fluidity and letting the pigment disperse. When printing viscosity climbs too high, the whole ink system moves into an oversaturated state. Pigment and other solids lose mobility, stop dispersing evenly and gather into clumps instead. Those clumps accumulate as gelled bodies, gel lumps, piled deposits and swollen aggregates. Pigment then struggles to move in and out of the mesh openings, and at the extreme it cannot enter the cells at all, which is the condition printers call blocking. Keep the colloid system formed by resin, pigment and organic solvent at saturation or below it rather than above it. The pigment then disperses into a fine, even colloid, moves through the mesh cleanly, and the fault disappears.
Choosing a Working Viscosity
Ink makers often suggest running between 15 and 18 seconds on a Zahn cup No. 3. On high-speed gravure presses running at 100 to 260 m/min, though, the ideal band usually sits lower, around 11 to 15 seconds. That range protects transfer quality while still allowing long runs and good output.
Low viscosity brings its own faults. A thin ink holds more solvent and proportionally less resin and pigment, so it cannot build a smooth film as it dries. The printed result looks washed out, flat and short of gloss. Where gloss matters, the working viscosity should sit higher, roughly 13 to 19 seconds on the Zahn cup No. 3.
Viscosity and Static Marks
At normal ambient humidity, static problems rarely appear once viscosity sits above 16 seconds on the Zahn cup No. 3. Below that figure the trouble grows as viscosity falls. Whiskering, mottled patches, edge rejection, ink fly, poor transfer and irregular water-stain-like marks all become more likely and more severe.
The Practical Rule
Set the ink at a measured viscosity, confirm it with the right cup, and check it through the run rather than once at the start. Gelation, blocking and static marks are usually symptoms of a viscosity that has drifted outside its working band, not separate defects with separate cures.