
Inkjet Printer Maintenance: Keep Your Proofs Clean and Accurate
Inkjet all-in-one machines handle a lot of everyday work for designers, self-publishers, and small offices. They produce the quick color proofs you check before a job goes to a commercial printer, and they handle small print runs that do not warrant a full production cycle. A machine that is not maintained will slowly degrade, and the first place you notice it is in the proof. Faded bands, misaligned colors, and dust spots all cost time and paper. A few simple habits keep the output reliable.
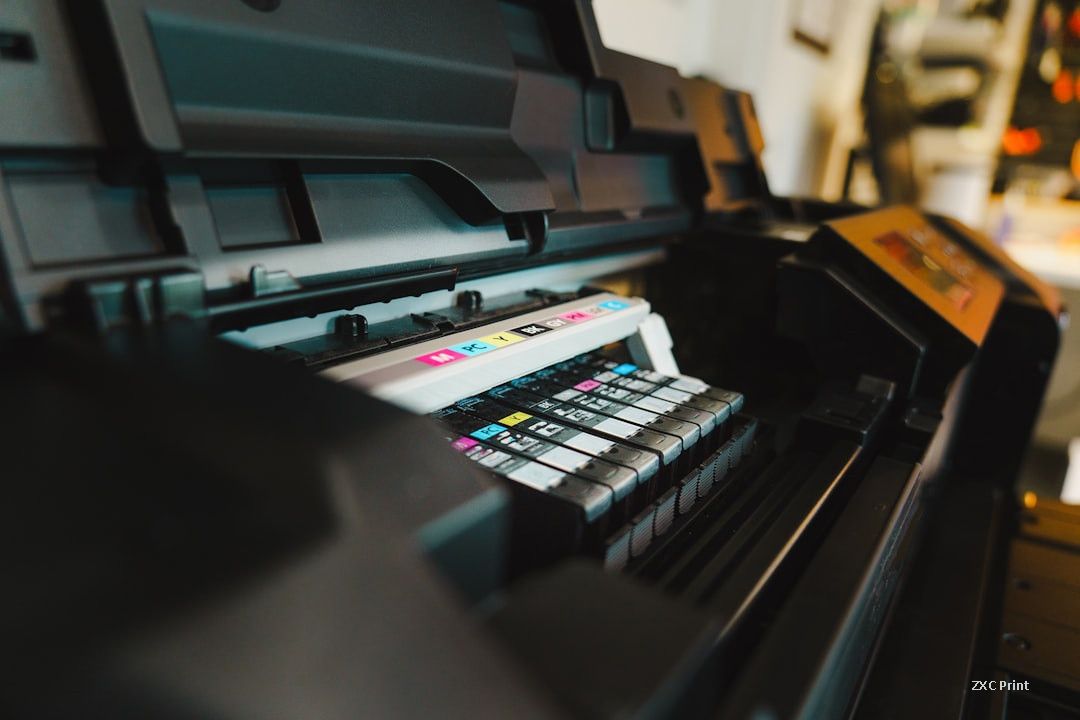
Clean the Print System
The easiest maintenance moment is cartridge replacement. While the ink system is open, wipe the accessible surfaces with a damp cloth and clear the paper path of dust and paper fragments. A soft brush or a small vacuum works well for the rollers and guides. Loose debris inside the machine transfers onto sheets and shows up as marks on your prints. Keep water, alcohol, and other cleaning liquids away from the print mechanism itself. Moisture inside the unit can damage the electronics, and it is normal to hear the carriage move back and forth during a cleaning cycle.
Clean the Scanner Glass
The flatbed glass collects fingerprints, ink smudges, and dust over time. When you copy or scan, these imperfections are captured along with the document, which lowers the quality of digital files and copies. Turn the power off before cleaning, wipe the glass with a damp cloth, then dry it with a soft lint-free cloth. Do not use corrosive cleaners, because they can damage the glass or leave a film that is hard to remove later.
Calibrate and Clean the Print Head
Calibration makes sure the ink drops land where they should. Most all-in-one machines include a calibration and cleaning utility in their software. Run it after installing a new cartridge, or when text looks blurry and colors look muddy. The utility prints a test pattern, and the machine adjusts the alignment from the result. This step is quick, and it prevents wasted sheets during real jobs.
Clear Clogged Nozzles
Streaks and wrong colors while ink is still present usually mean clogged nozzles. If the built-in cleaning cycle does not help, try manual cleaning. Remove the cartridge and locate the nozzle plate at the bottom, the part that looks like a small circuit board. Soak only the nozzle area in warm water at 50 to 60 degrees Celsius for three to five minutes. Take the cartridge out, shake off excess water, and blot the nozzle plate with a clean tissue. Do not rub the circuit area, since that can push debris back into the nozzles. Reinstall the cartridge and print a test page. If output does not improve, replace the cartridge.
Regular upkeep keeps the machine honest about what it prints. For the finished piece, however, a commercial printer with calibrated equipment and controlled processes is the safer path. Proofs from your inkjet tell you the design works; the final print quality depends on the press and the people who run it. Keep the proof stage clean and accurate, and hand the production stage to a professional printing service.