Preparing and Outputting Images for Inkjet and Photo Printing
Large-format inkjet printing and photo-quality inkjet printing each place different demands on the image file. The notes below cover the practical points that matter before a file goes out for output: panel size, resolution, color mode, black build and storage format.
Size the Artwork to the Finished Panel
For large-format inkjet work the image size equals the finished display size. Unlike offset printing, no bleed is required. Output houses usually leave a white border around the printed panel, commonly about 10 cm around the clean image area, and you can agree with the output house on how much border should be reserved for the eyelets. Because pricing is calculated per square meter, it is enough to give the dimensions in centimeters.
Resolution Follows the Output Device
Large-format images are often enormous, and giving them an offset-level resolution would put an unreasonable load on the computer. There is no fixed standard either. The figures below show the resolutions I have used with different panel sizes:
- Image area of 180 square meters and above: 11.25 dpi
- Image area from 30 to 180 square meters: 22.5 dpi
- Image area from 1 to 30 square meters: 45 dpi
Most large-format machines are set for output at 11.25 dpi, 22.5 dpi or 45 dpi, so matching that resolution speeds up file handling. Photo-quality inkjet printing usually calls for 72 dpi. If the artwork is very large, for example a Photoshop file at actual size that exceeds 400 MB, the resolution can be reduced to keep the file inside that limit.
Color Mode: CMYK for Banners, Either for Photo Prints
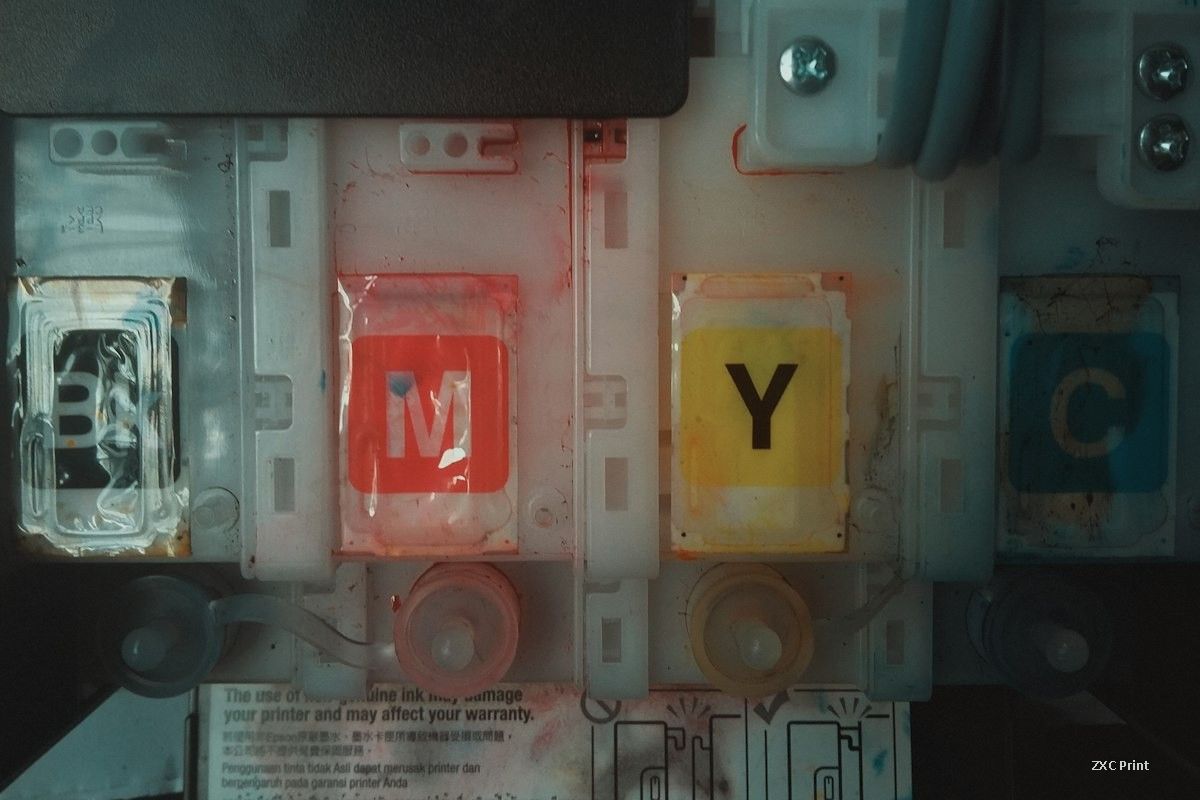
Large-format inkjet work uses CMYK throughout; RGB is not accepted. The machines are four-color devices and their color response differs from printing inks. Build the file to print standards and the output house will adjust the panel so that it matches the proof. Photo-quality inkjet printing may use CMYK or RGB. When RGB is used, the deep reds should be defined in CMYK terms, that is M=100 and Y=100.
Black Is Always a Mixed Black
A single-value black is not permitted in either process. Black must carry C, M and Y components to form a mixed black. A rich black can be built as C=50, M=50, Y=50 and K=100. This matters most with effects applied in Photoshop: convert those black areas to four-color black, otherwise horizontal bands can appear in the dark regions and spoil the overall result.
Save the File Uncompressed
Store the artwork as TIF, and avoid compressed variants of the format.
Choosing the Dot Count
The dot count depends on the job. Large-format work is usually around 30 dpi and photo-quality work around 72 dpi; both can be lowered for a big panel. The lowest figure I have used is 10 dpi on a 300 square meter panel, and larger jobs can be split across several files. Photo-quality printing is generally kept at 50 dpi or above. A low dot count does not blur the image; it produces stronger stair-stepping along the edges. Raising the count and enlarging the picture, on the other hand, gives a softer image with less obvious stepping. In practice both directions can be used together, so judge the balance for each job.