
Flexographic presses have become the default choice for food packaging, medicine packaging and a wide range of other printed products, mainly because the process is efficient and kinder to the environment than several alternatives. Yet the same question keeps coming back from production managers: how do you raise the quality of flexographic output when so many variables are in play? The honest answer is that flexo quality is decided at several points long before the job starts running, and most problems can be traced to four areas: the design file, the plate, the anilox roller and the inking system. This article looks at each one in turn.
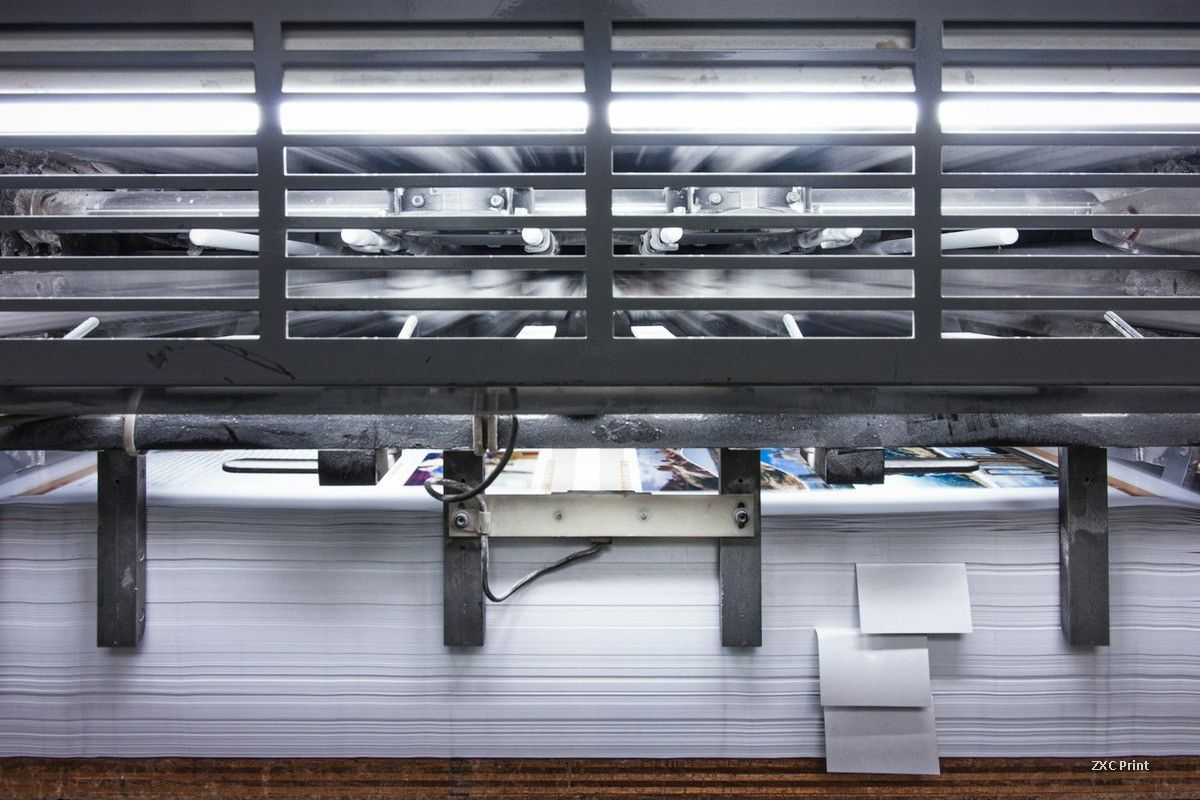
Review the design before it reaches the press
Packaging artwork today is created on a computer, usually by designers who think in terms of color and layout rather than press behavior. When a flexo job comes out muddy, loses its highlight dots or shows uneven tone transitions, the design file is often the reason. Flexo plates print with more dot gain than offset plates, and very small dots can disappear completely during platemaking or printing. If the artwork stacks too many process colors in one area, every one of those colors adds its own gain and loss, and the overlapping effects darken the image and crush the highlights. A careful prepress review should reject artwork that is unlikely to survive the process. Three design rules help the most.
Keep the number of process colors as low as the artwork allows. A clean, bright palette reproduces more reliably, shortens makeready and makes quality control easier on long runs. Add spot colors where process builds fall short. CMYK cannot cover every brand color, and flexo is strong at printing large solid areas and spot colors. Most flexo presses carry six or eight print stations, so leaving stations idle while forcing a marginal four-color build wastes capacity as well as risking quality. A well chosen spot color gives a flatter, denser result than a four-color simulation. Avoid ultra-fine rules and very small type. Flexible plates deform slightly under impression, so hairline strokes distort, tiny reversed white text fills in because its relief is shallow, and thin decorative borders disappear next to heavier lines. Use bolder line weights and keep strong contrast between decorative elements and the main artwork.
Move to digital direct platemaking
Plate quality sets the ceiling for print quality. Conventional platemaking exposes the plate through a film master, and the diffuse UV light that passes through the film enlarges every dot and line. That lowers resolution and adds another layer of dot gain before printing even starts. Digital direct platemaking removes the film step. A laser ablates the black mask layer bonded to the photopolymer plate, and the plate is then exposed, washed out and finished. The result is sharper dots, steadier exposure and fewer plate defects such as dust spots or missing image elements.
The usual workflow has seven steps: digital imaging, back exposure, main exposure, washout, drying, post-treatment and post-exposure. Digital imaging burns the image into the mask with an infrared laser. Back exposure builds the floor thickness that gives the plate its press life, and longer back exposure means a thicker floor. Main exposure hardens the image areas through the ablated mask, so no vacuum drawdown is needed and the exposure stays short and uniform. Washout dissolves the unhardened polymer to create the recessed floor. Drying drives residual solvent out of the plate, which swells and softens during washout. Post-treatment wipes the surface clean of leftover monomer, and the final post-exposure hardens the plate completely so it resists ink, solvent and bending over a long run.
Choose the anilox roller with care
The anilox roller is the metering heart of a flexo press. It carries a controlled volume of ink to the plate, and its specification and condition decide how even the laydown is. Two numbers matter most: the line screen, meaning the number of cells per unit of length, and the volume, usually expressed in BCM. Higher line screens give finer, more even metering, but each cell holds less ink, so there is a practical limit. If the screen is too fine, the roller cannot supply enough ink to cover the plate. In most cases the anilox screen should be roughly three to four times the screen of the plate, so that each plate dot sits on several cells instead of dropping into one.
Cell shape affects service life as well. Under the same running conditions, a pyramid-shaped cell wears faster than a truncated cell, and its ink volume falls more quickly as wear progresses. Wear comes from friction against the plate, the fountain roller and the doctor blade. Once the roller can no longer deliver the volume the plate needs, it should be replaced. Choose the line screen with the substrate in mind as well: rough, absorbent corrugated board suits a lower screen, while smooth films and foils call for a higher one.